How to Replace a Touch Screen (Digitizer) on an LG KC910 Mobile Phone
This job requires a high degree of care, if you are unsure consult a mobile phone repair specialist. We take no responsibility for any damage you may cause to your phone and you follow these instructions entirely at your own risk. There are a number of ways this replacement can be done, the following method uses the least disruption to other parts and connectors of the phone. The ribbon connectors and plugs used on phones are quite delicate and care should be taken.
Tools Required: Size 0 Philips screwdriver, plastic opening tool or a guitar plectrum would suffice.
Parts: Replacement digitizer screen. Adhesive.
Parts and tools are widely available on the Internet. It is possible to purchase the Digitizer and Fascia as one at a higher cost, this makes the job of fitting easier, but the following describes fitting the digitizer separately.
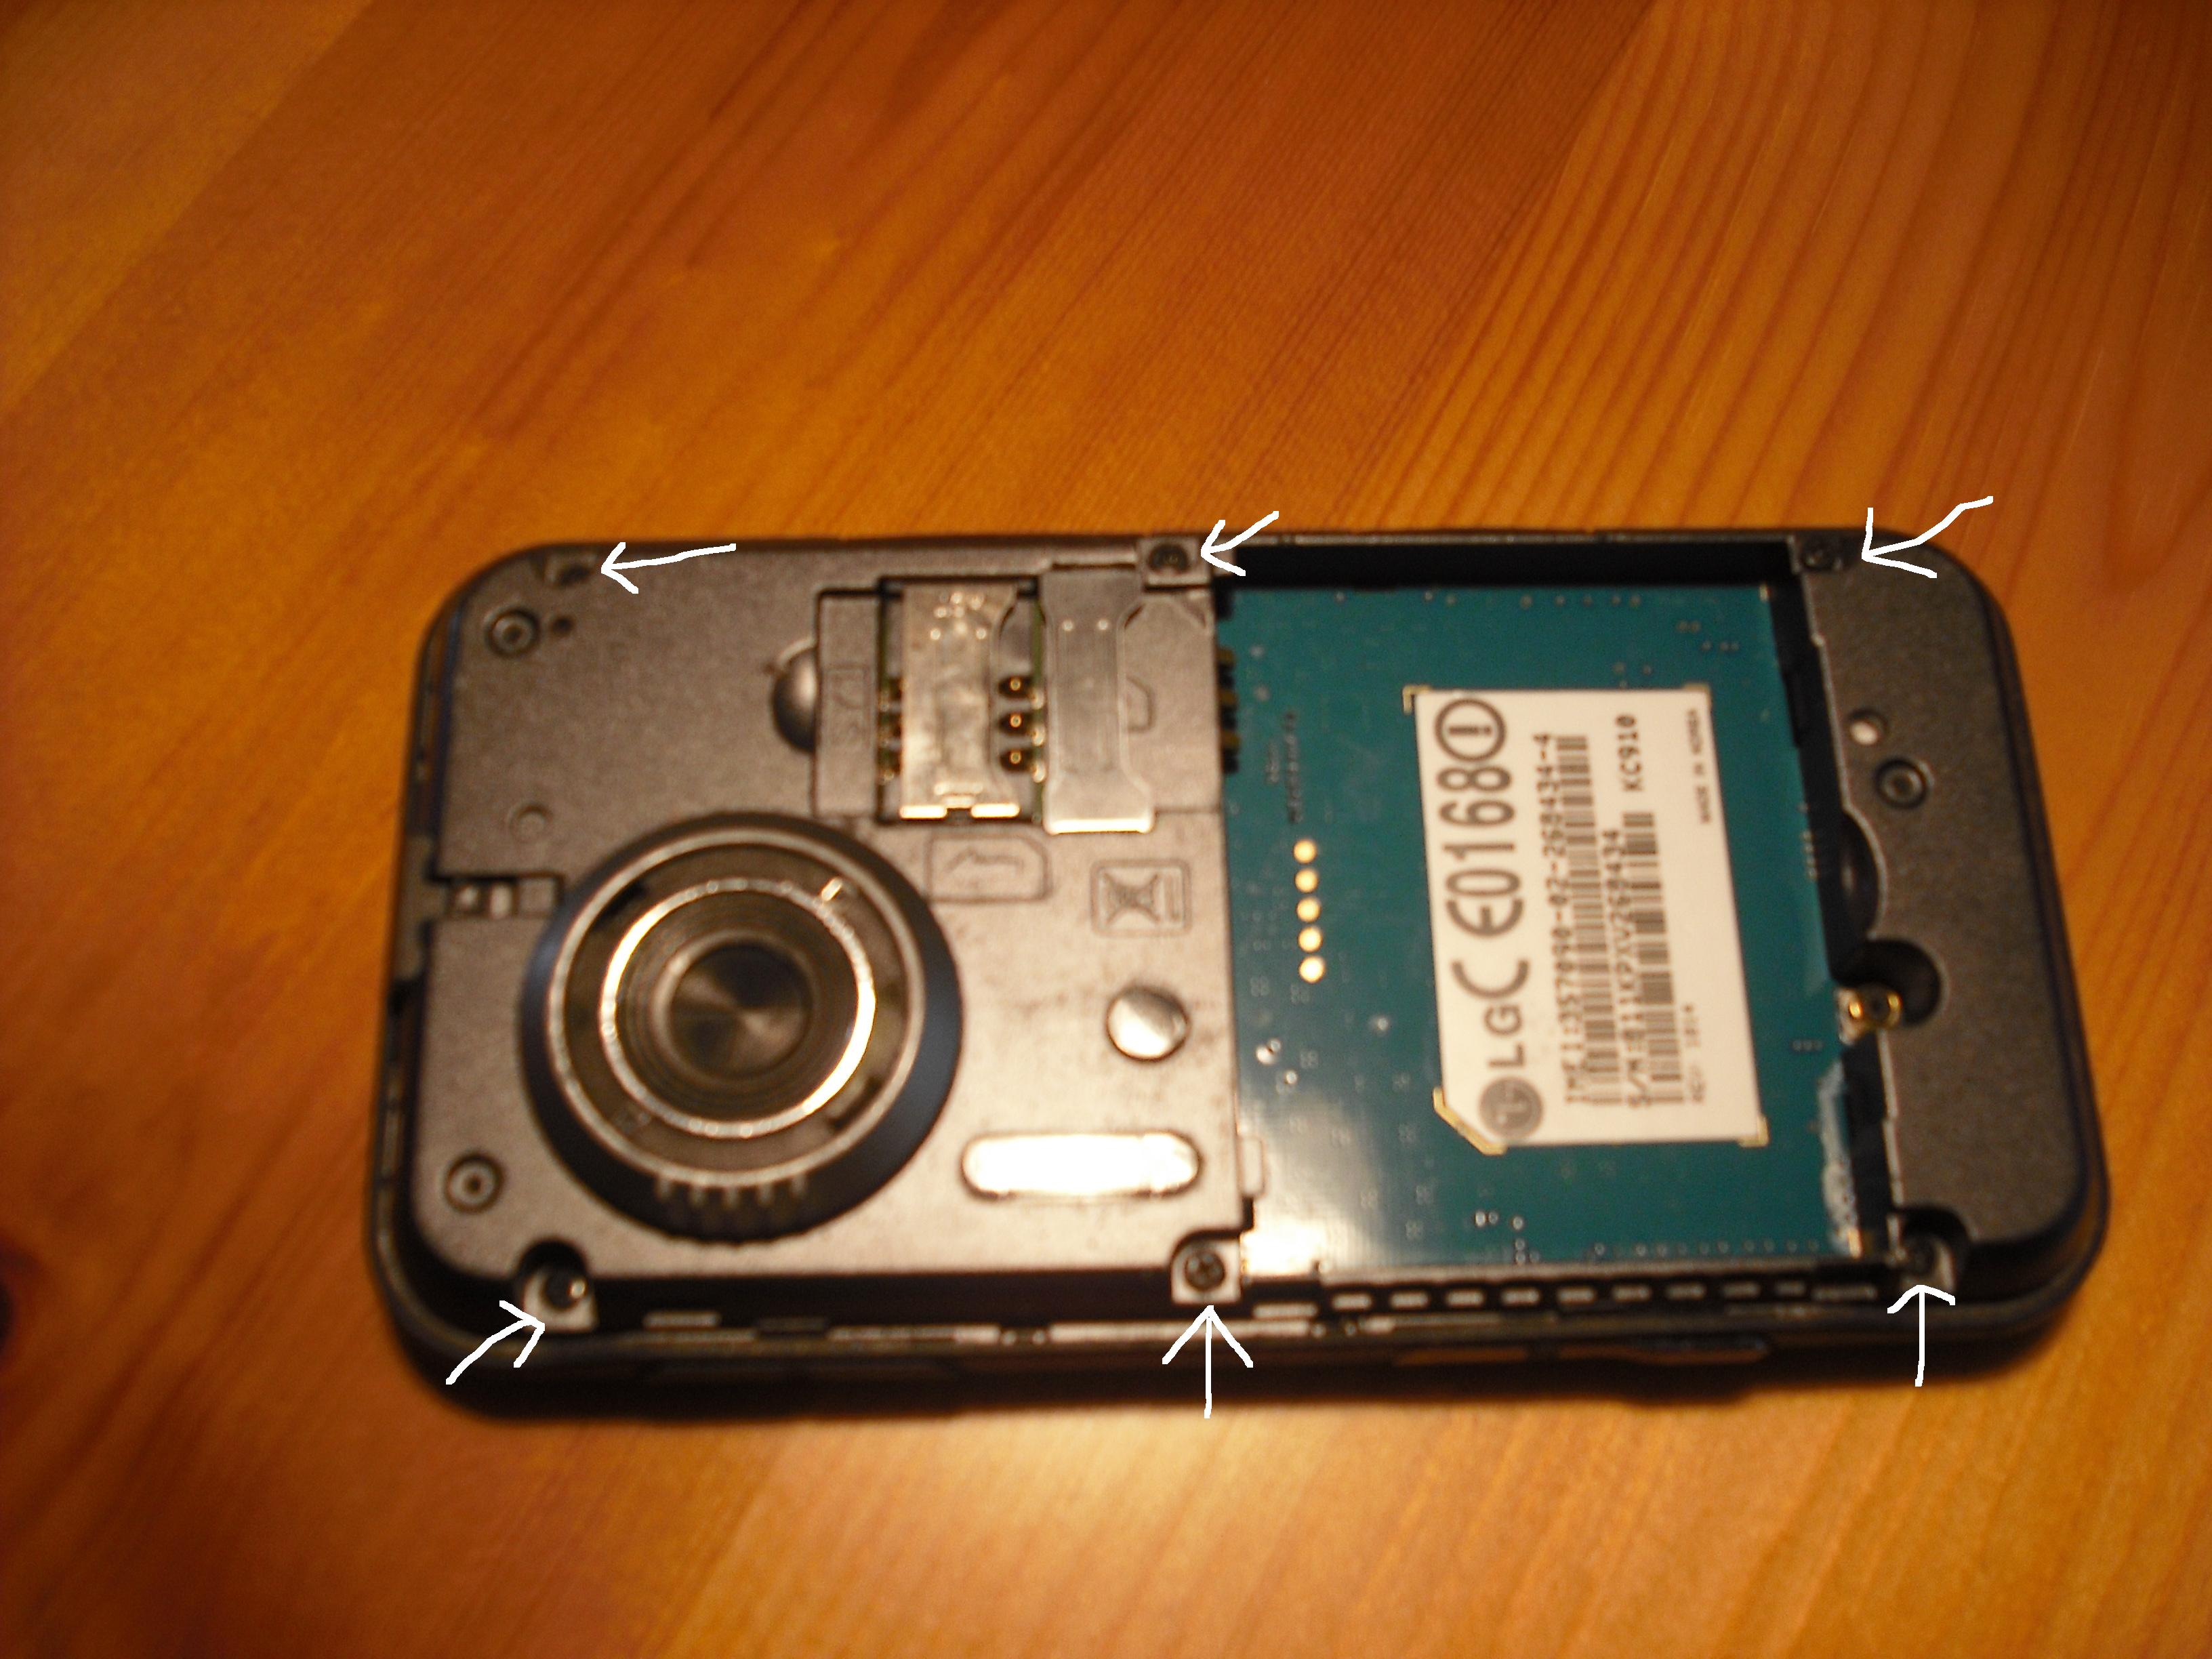
1. Remove rear cover, Battery and Sim card.
2. Remove 6 Philips Screws.
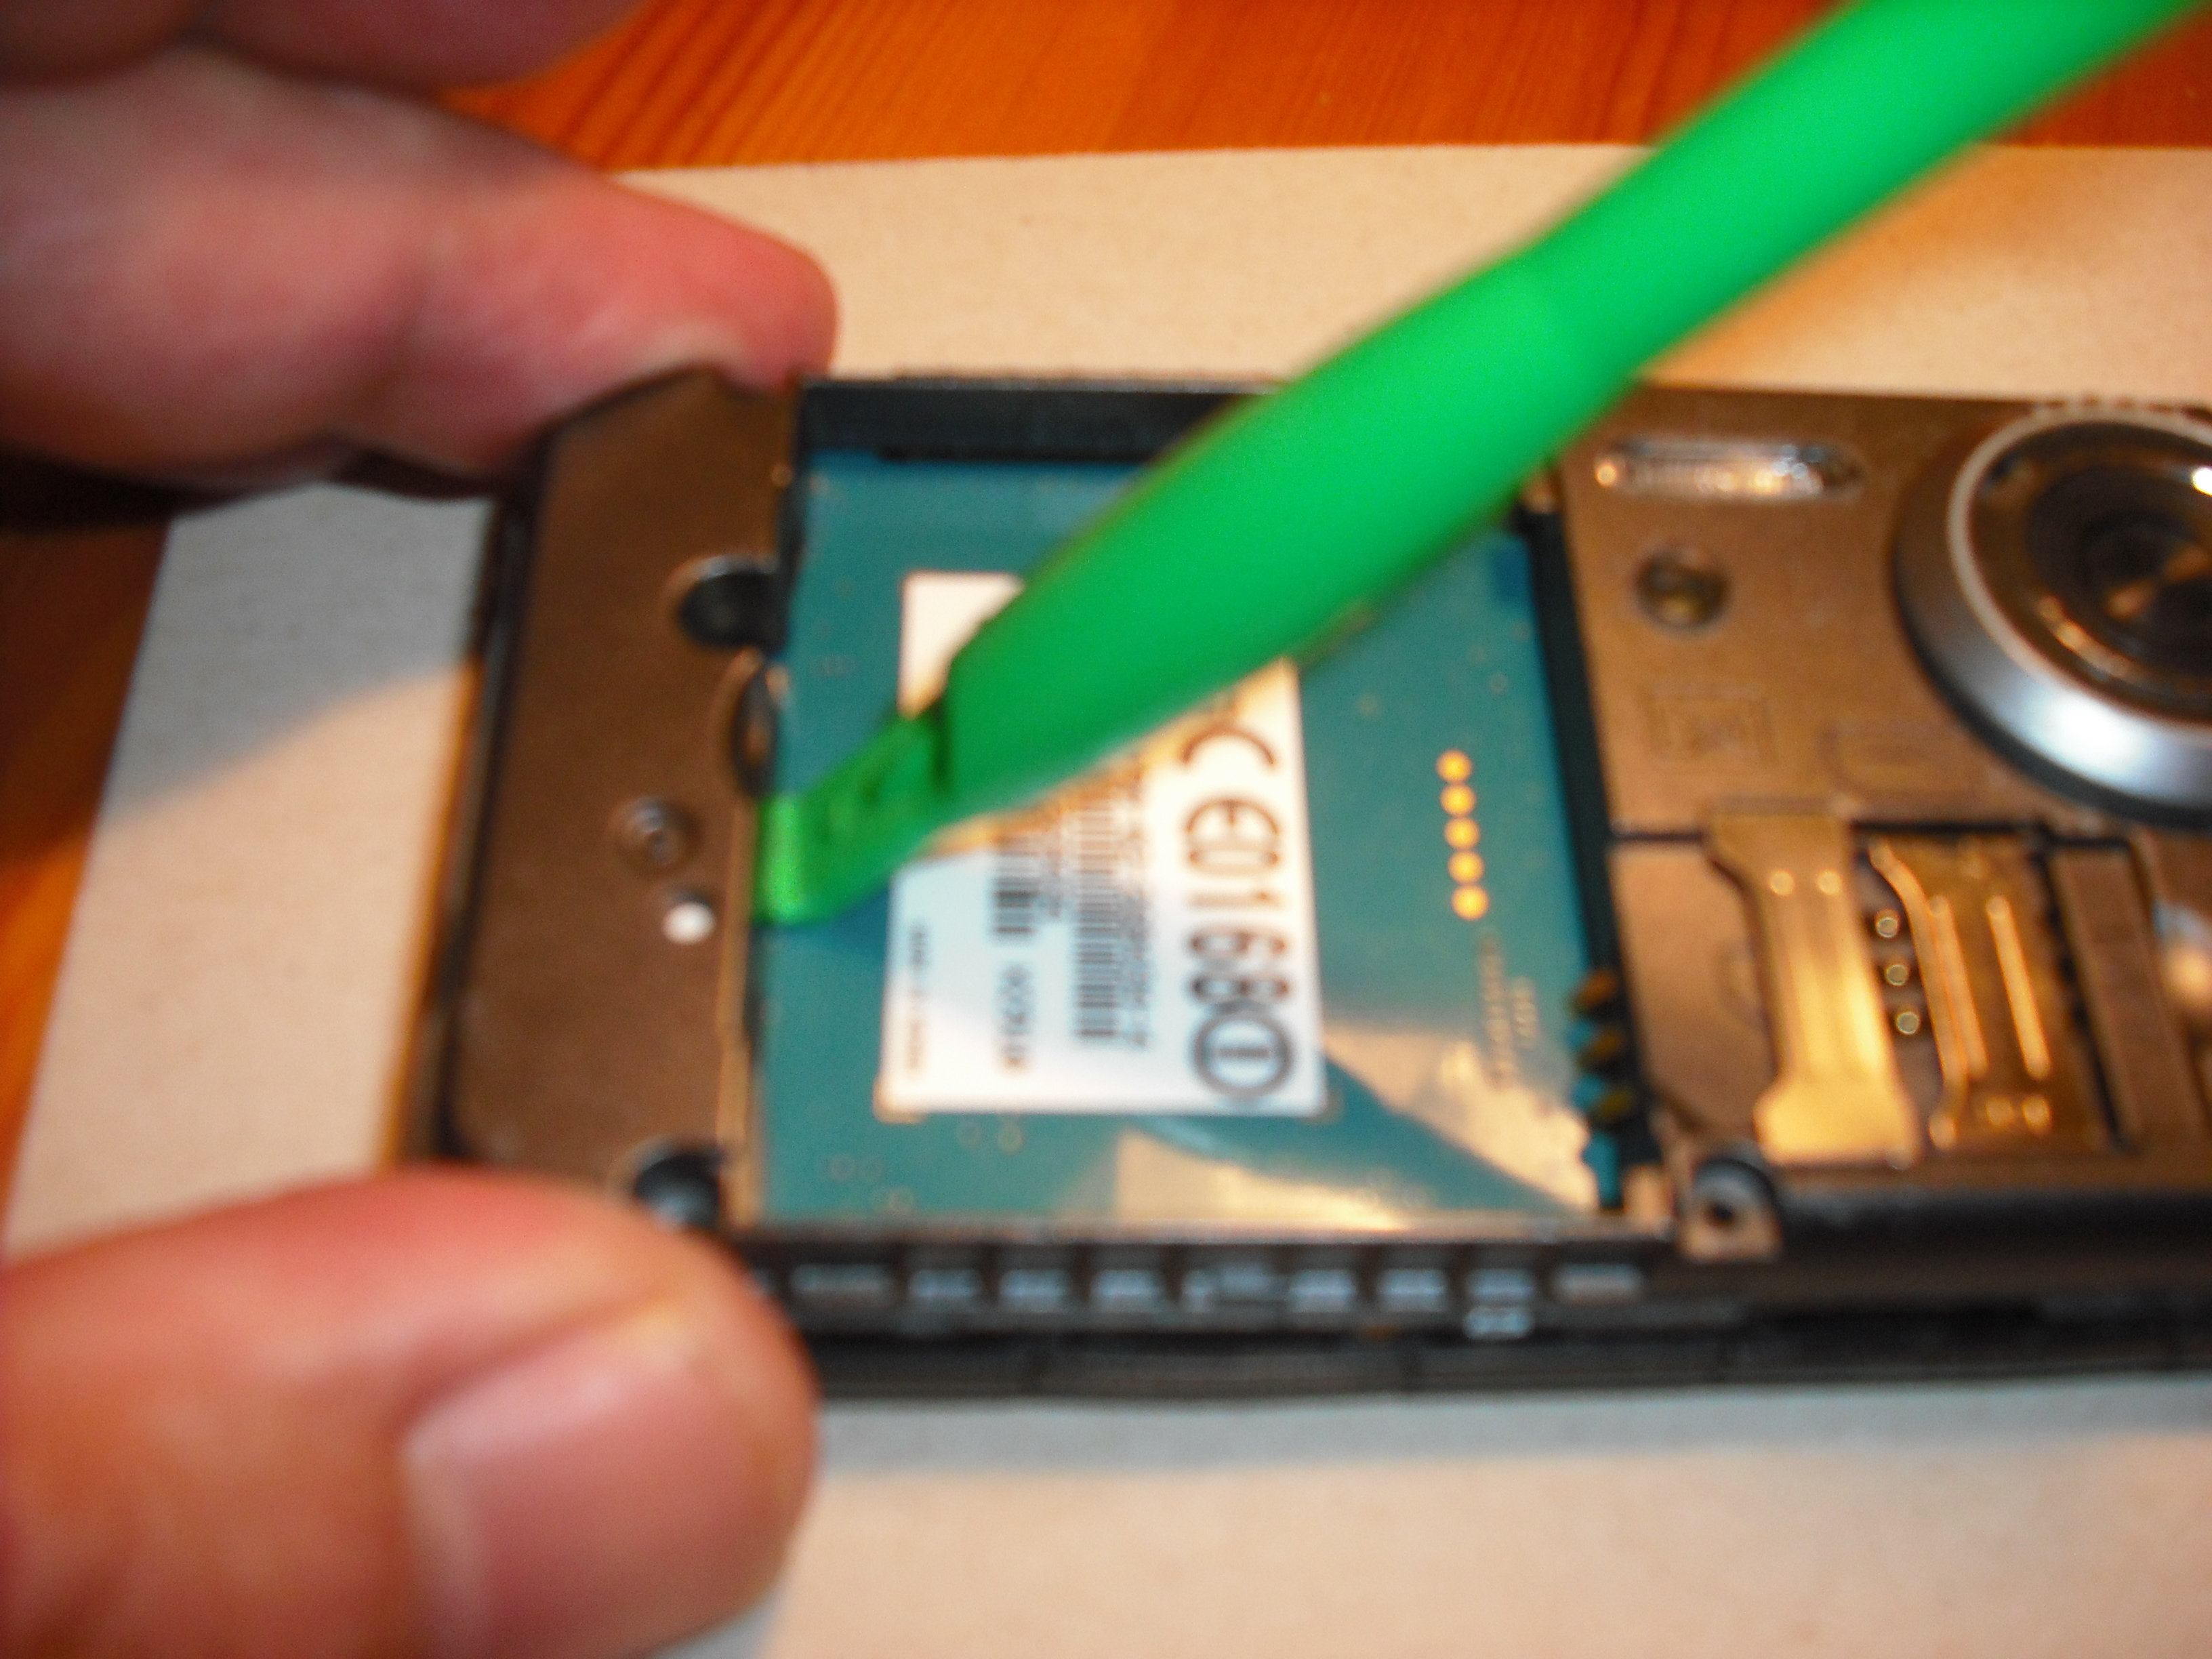
3. Use opening tool to prise rear housing apart and work the tool around until completely apart.
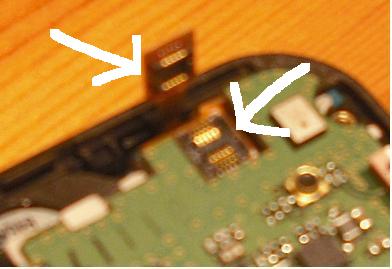
4. Unplug the digitizer plug and make sure it is free to slide through the slot when the screen is removed.
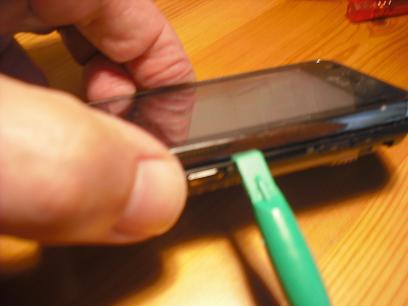
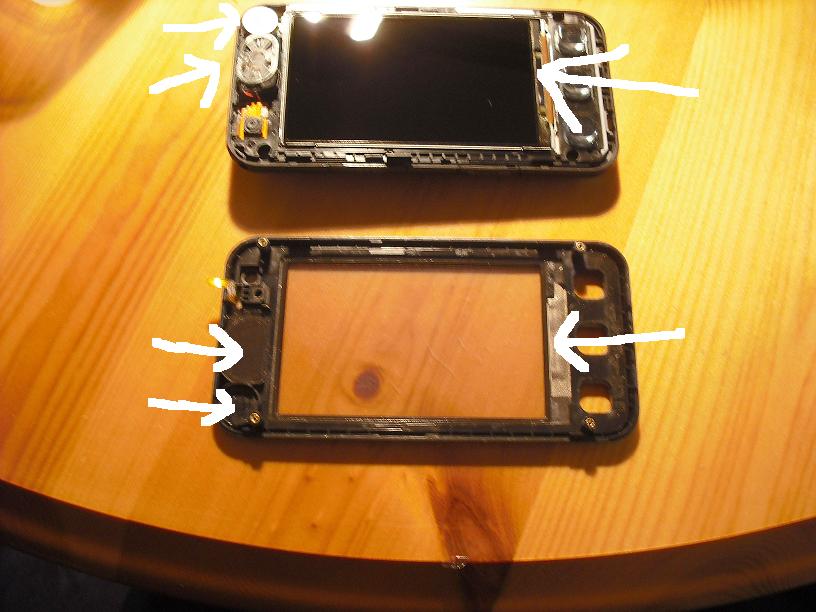
5. Using the opening tool, prise the fascia lose from the main body and work around to loosen. **DO NOT OPEN MORE THAN 0.5cm AT THIS POINT** as a few things are lightly attached with adhesive to the fascia that will need prising off before the fascia can be removed. Care should be taken to put as little strain on the connectors as possible. See 6.
6. Using an old credit card, carefully slide it in-between the fascia and main body to unstick the speaker, ringer and the bottom edge of the LCD screen from the fascia, when completely free remove facia.The arrows in the picture below show where the items were lightly attached with adhesive before removal.
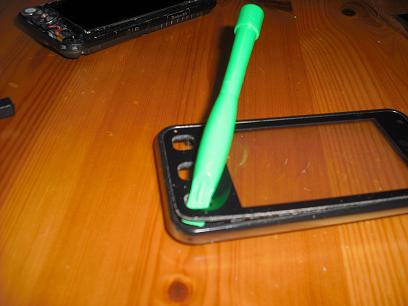
7. Using the opening tool, prise the touch screen away from the fascia

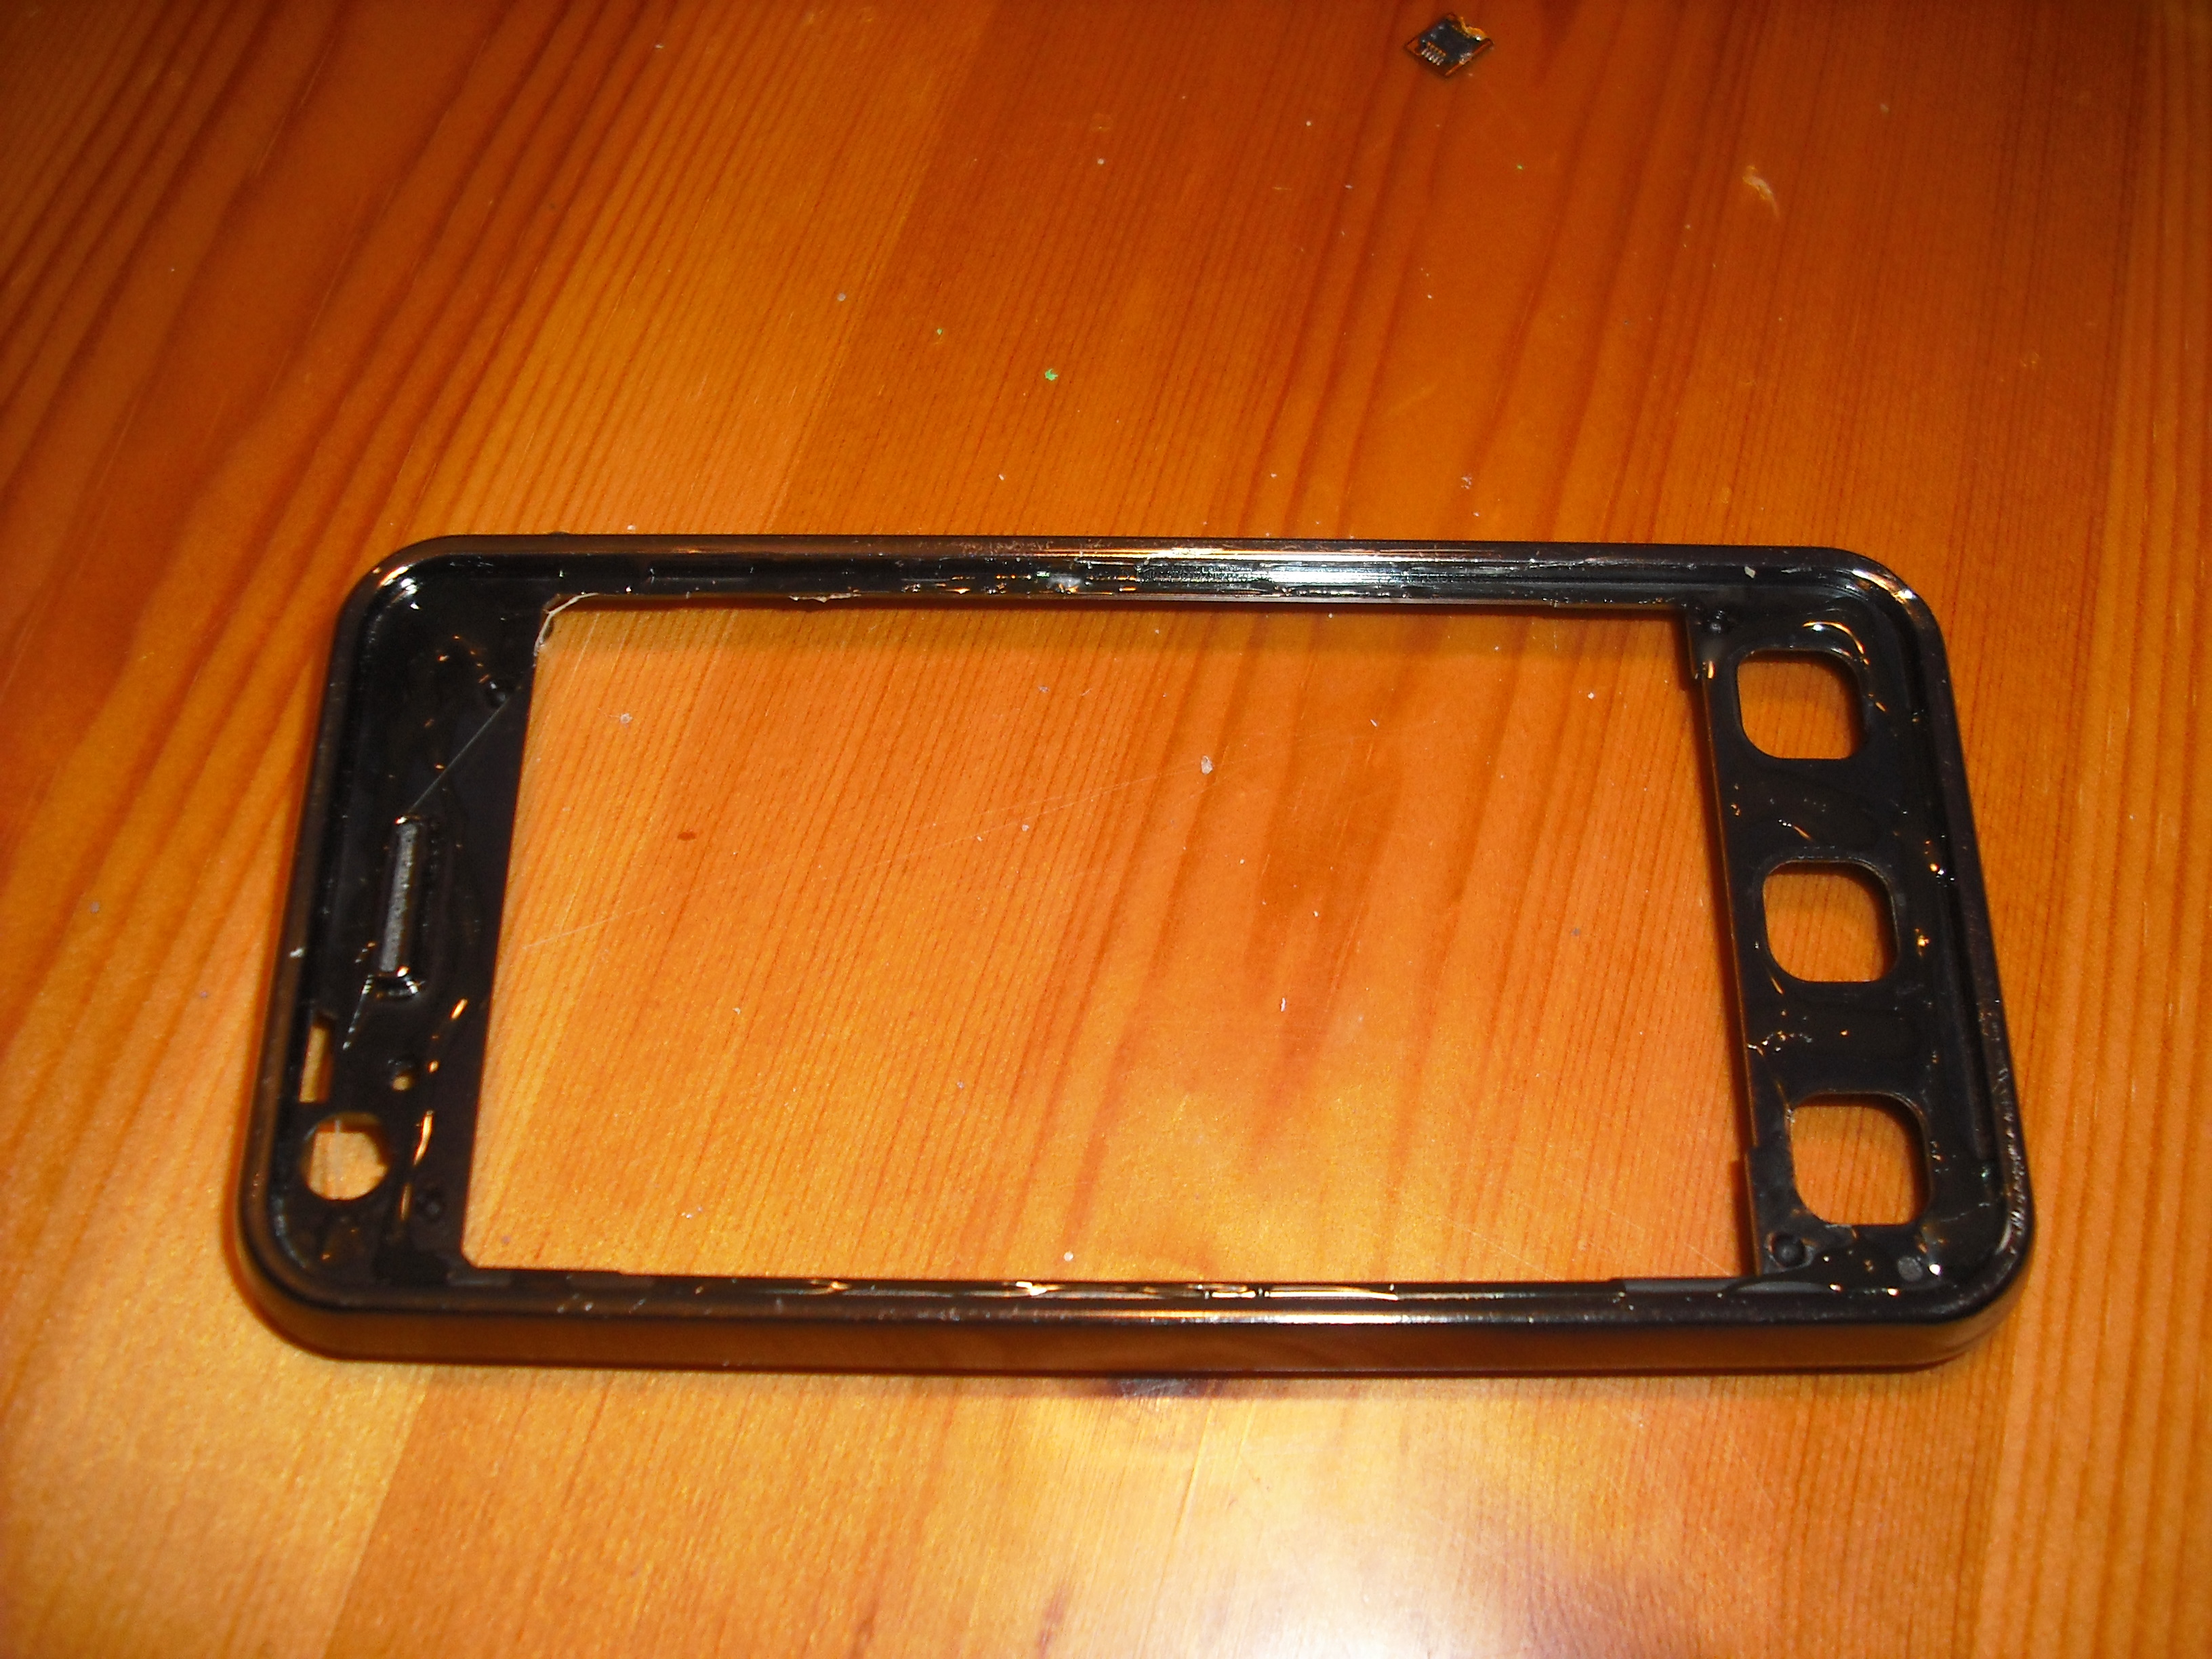
8. Clean all traces of adhesive from fascia Then run a string of glue around the area of contact between the fascia and the digitizer, be careful not to use too much, make sure that glue will not foul the operation of the 3 buttons. I used "Evo-Stik Impact" a general purpose contact adhesive, do not use anything too heavy as the digitizer is prone to failure and you may be repeating this procedure again.
9. Attach the digitizer to the fascia feeding the ribbon connector through the slot, avoid getting glue on the contacts.
10. Reassemble the phone by reversing this procedure.